Showing posts with label gear. Show all posts

13 November 2013

Six things we learned about our gear from our weekend in the Peak District

Autumn in the Peaks
We recently spent a long weekend in the Peak District, as part of our apparently annual practice of going camping when the weather probably doesn't warrant it. It was a wonderful, relaxing weekend ahead of a few intense weeks coming up for both of us. We're currently planning a more serious trip (more on that very soon) which made for lots of reflection over the course of the weekend about our gear choices in particular. I found it to be a very informative trip in that sense. In particular we learned:

1. GPSes are great, but not to be relied upon: Our GPSes have been a bit funny lately, so we decided to leave one at home. Upon arrival to Sheffield, we discovered that the route we'd plotted from Sheffield to Hathersage was no longer on the unit! Fortunately, we had a map as well. It may not have been as quiet a route, but we managed to get out of Sheffield without a problem. This is why we'll always cycle with maps in addition to our GPS unit. (Note to my mother: We've recently updated the software on them, so the problem should be fixed!)

2. Dynamo lights are great, but not to be relied upon: Alberto recently invested in a dynamo hub and was excited to use his bright light on the dark lanes in the Peaks--we had plans to ride in the evening to a nearby town for the fireworks display (it being Guy Fawkes Night). However, on the way to the station for our 6am train the light suddenly stopped working. We're not sure what the problem was, but it was definitely with the light rather than the hub itself. Since we hadn't brought another light (besides our head torches) we were confined to Hathersage for the evenings.

Our trusty Hilleberg Staika
2. Hilleberg tents... hell yeah: We've had our Hilleberg Staika for close to a year now but had never used it in bad conditions until our weekend in the Peaks. We've had a night or two with rain and one night of slightly obnoxious wind, but nothing major. On Saturday night, the had wind and rain so bad that we actually decided not to try and cook dinner - we just ate food that didn't need to be cooked. It wasn't the quietest night's sleep, but the tent felt totally secure and we had no leakage issues. All to be expected with a legendary brand like Hilleberg but it was good to have our expectations confirmed.

3. Wool really does keep its insulation when wet: Sunday dawned with some serious rain and we spent the morning reading and napping, hoping the day would improve. When it didn't we decided to hike up to Stanage Edge, as there is a footpath from the campsite. We put on full waterproofs - trousers and jacket - but my cycling waterproof doesn't have a hood, so I was left to use my merino wool Buff as a hat. It of course got totally soaked over the course of our 1.5h walk, but still kept my head remarkably warm.

Wet but warm headwear
4. I should get a waterproof jacket with a hood: I mean really, there was no need for that.

5. Sealskinz waterproof socks... seriously, hell yeah: As per normal for a short camping trip, our only non-cycling shoes were Crocs. We went on the hike anyway, with waterproof socks overtop of a normal pair. Not only did we have rain coming in from the holes in the Crocs, but there were some parts of the trail that were literally rivers of water. It was impossible not to step in some puddles. Our feet sometimes felt the cold from the water but when we got back to camp and took our socks off, the inner socks were still dry. Awesome!

31 July 2013

The bikes of the London-Edinburgh-London

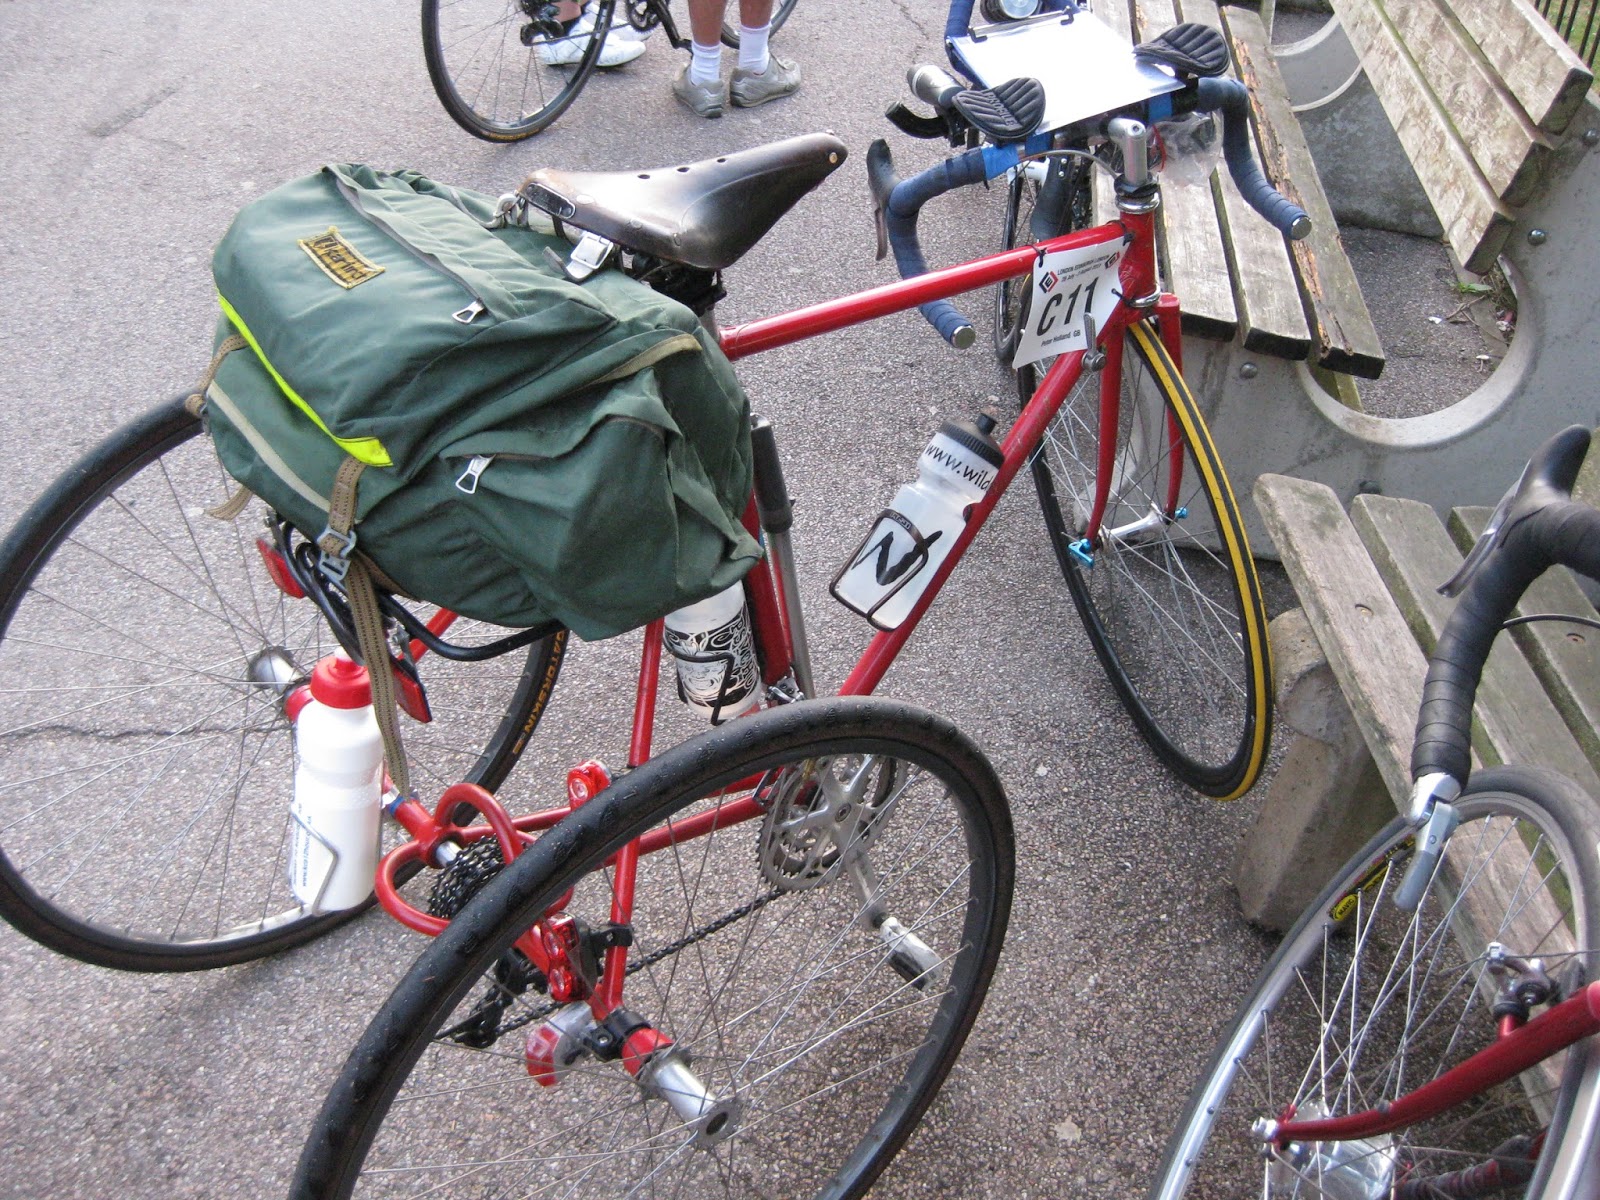
Even though I was on volunteer duty most of the Saturday and Sunday, I could not resist to go and have a look at the LEL's bikes. As usual in audax events, pretty much all types of bikes were on display and ready for the extended 1400 km journey to Scotland and back...which proves that it's all about the rider, and not the bike!

Not sure if these qualify as a bicycle as such...

Much admired £15K Moulton

Great for siestas

Love the rear wheel

Nice choice of colour for the American bike

Probably owned by an American also

Steel is real

Fixed all the way

Not sure this is going to Edinburgh...but still

Aluminium still going strong


Plenty of Canyons around

Plenty of titanium bikes also

Note the dynamo, converter and well broken in Brooks

Touring recumbent with a Rohloff

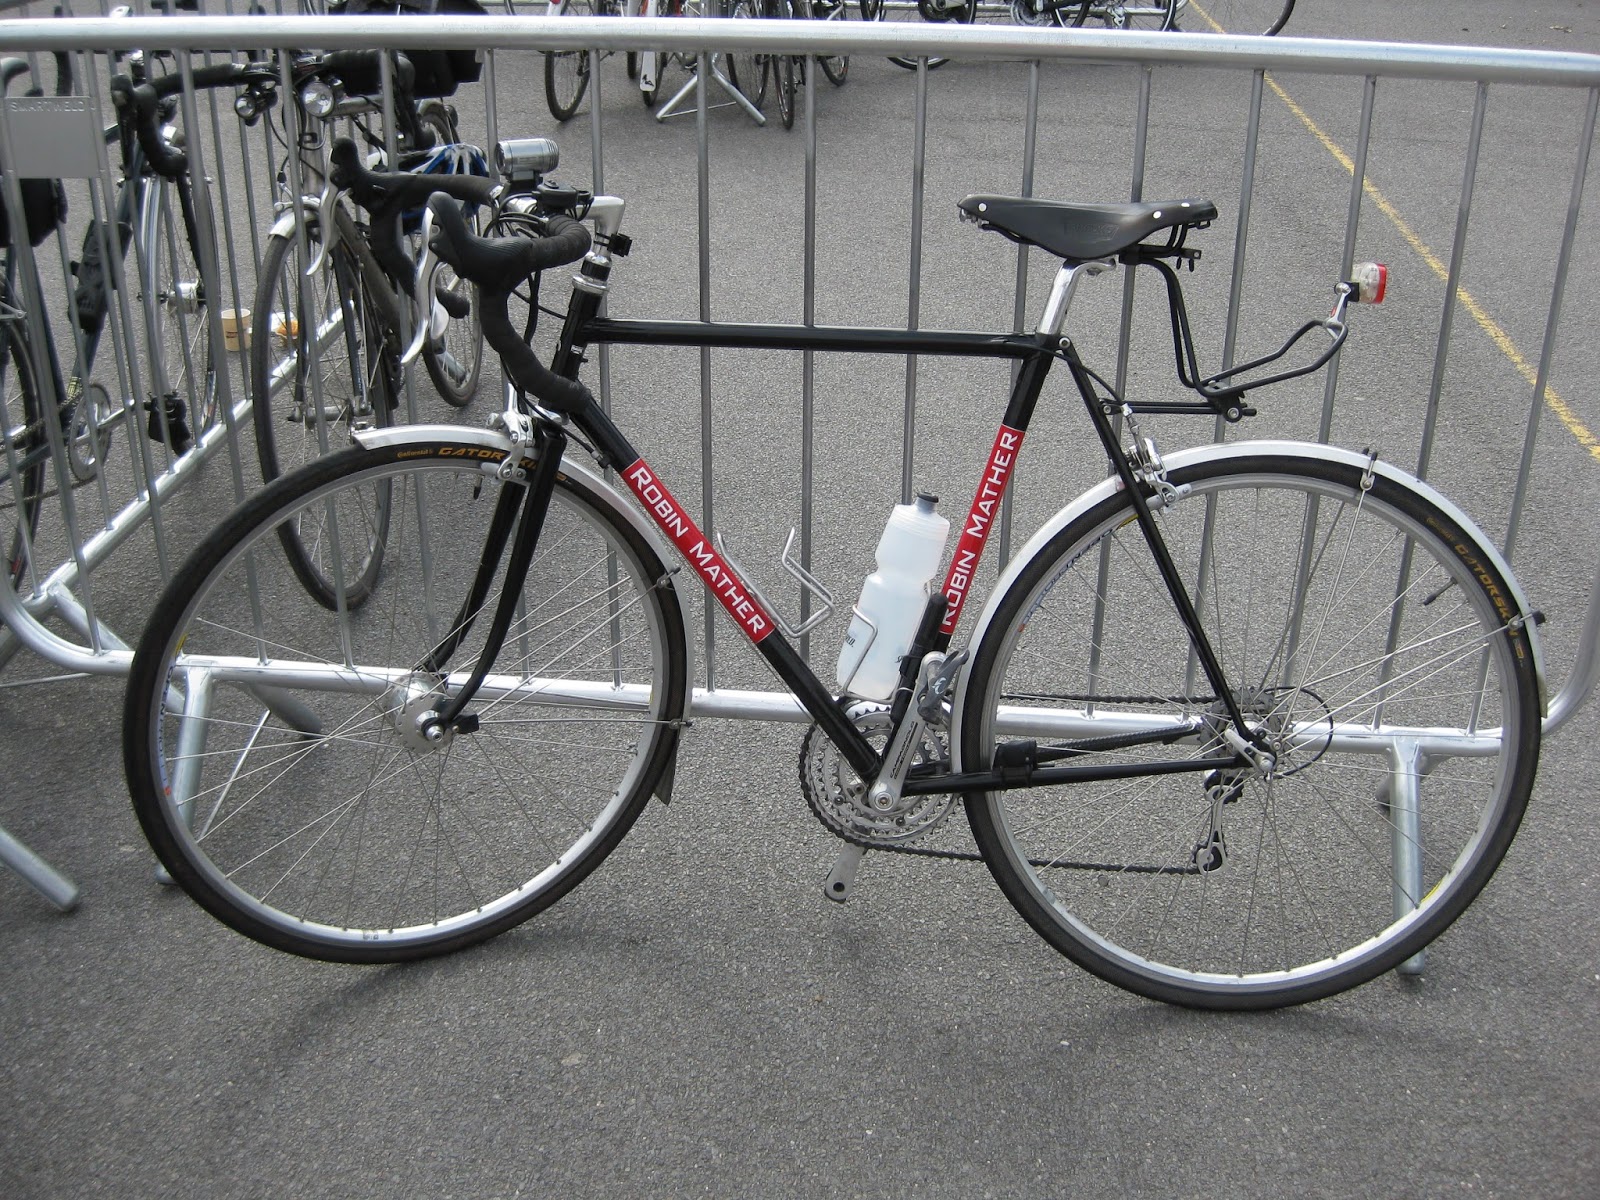
UK-custom made Mather

Quite a few Bromptons were doing LEL...surely (very) hard work

More titanium

Possibly one of the most elegant upright trikes I've seen...all 953

Traditional UK-steel made frame

Your average aluminium Cannondale

More Ti

Bachetta recumbent

Not what I would call "travelling light"

Old fashion steel fixie - note the old dynohub and front light

ICE trike plus trailer

Moulton TSR 30?

Interesting frame bag

Steel upright trike

Much admired Colorado-made rando bike. Cable-activated hydraulic disc brakes!

Brakes of above's bike

Old Miyata frame with S&S couplers

Note the oval chainrings

Dutch recumbent rode from the Netherlands

Tourer with front suspension (it's all about the rider!)

Quite a few tandems at the start

Long haul trucker - one single chainring, and 26 inch wheels. 

Interesting braking system

The famous cargo bike without the dogs (unfortunately he packed early on)

Lovely Roberts tandem with S&S couplers

Without doubt, the best bike of all. Two gears, pedal backwards for an easier gear uphill!  


And clothing to match (but he did have a flashy GPS on the handlebars!)

23 March 2013

N plus 2

The British weather continues to disappoint, and we are still experiencing temperatures in the single digits (C) and snow in many parts of the country--including many areas that we would wish to ride in. This time last year we were experiencing an early spring heat wave, but this year we really haven't had any nice weather rides in quite some time. This has resulted in a string of DNFs and DNSs, although we've still managed to have some nice rides on the bike, if not as registered audaxes.

However you have to keep things interesting with cycling, and if the rides won't do it then perhaps new acquisitions will. In the space of a few days we've suddenly found ourselves with two new bikes to add to the stable.

The first and most predictable is my Long Haul Trucker, parts of which we have been acquiring for months now in anticipation. We finally got the frame itself (in actuality it was a Christmas gift from my parents) and Alberto has been diligently buidling it up over the last few days. It is now fully rideable, though lacking a few accessories like mudguards, bottle cages, and handlebar tape.

Bare frame

Good to go!
The less expected new addition also fortuately takes up less space--it's Alberto's new Brompton! A new job meant that he finally had an excuse to buy one (as he'll be able to take his bike on the train) and when he saw a secondhand one available for quite a good price he had to jump on the offer. We met the seller (a student who decided he valued cold hard cash over the joy of cycling) at King's Cross and soon we were strapping the folded bike onto the rack of Alberto's LHT. An unorthodox commute home, but a successful one.

That's Alberto looking pretty miserable in the sleet

The folder, in its folded state
Next week we'll be headed to Scotland for what is shaping up to be a very cold tour of the Western Isles and Outer Hebrides. We can only hope that April brings better weather and more chances to put the new bikes through their paces!

14 March 2013

How to fix a flat tyre

Sure you know hot to fix a flat tyre...IF you had some patches, glue and perhaps even some sandpaper. One of my friends, rightly knowing I would enjoy the video, sent me a link to an imaginative way of mending a flat when you do NOT have the right kit. I guess it may even work when you get a big crack on your inner tube, wouldn't it?

In any case, do let me know if you have tried or will try this technique - I will very be very keen to hear how it all went or if it actually works?!

21 February 2013

Gear review: SKS Long Blade mudguards

Mudguards (or fenders, for our American/Canadian readers!) are a common thing in the UK. When I first moved here I was shocked at how many people had them on their bikes. But it wasn't only commuters that had them, also roadies, tourers and of course, mountain-bikers.

It has taken me a while to admit that perhaps they are a good thing. We all know what happens to your back and butt when it rains if you don't have mudguards. But most importantly, perhaps, is that if you ride in a pack you will be spraying all the road grit to the rider immediately following you behind. Although this could be ok if that was your best mate or partner, it really isn't pleasant when riding in a group.

However, being used to more fair weather countries, none of my bikes were fitted with the eyelets that you normally attach your mudguards to. A few companies have already thought about that and have designed mudguards that do not need such eyelets to be installed. The ones I know of are listed below:

- Crudracers
- SKS Race Blade mudguards (clip-on)
- SKS Race Blade long mudguards (clip-on)

I decided against the first two because 1) the crudracers had almost no clearance and looked too flimsy and delicate, and 2) the Race Blade mudguards clip-on system with rubber bands did not convince me, plus they do not reach below the hub axle meaning riders behind will get all the spray anyway.

I went for the third option, which had just been released into the UK market. The fact that they were long (below the axle) and easily removable appealed to me. I went and ordered them online for just under £30 and a short review of these is the aim of this blogpost:

Installation

If you fancy installing this yourself, this should be pretty straightforward. Basically, you put the metal clips on both the hub axles (removing the springs first) and in between the frame and brake bolt.

Rear mudguard attachment to the rear axle

Front clip for front mudguard, attached to the brake bolt to the frame

Detail of rear mudguard attachment to the brake bolt to the frame
Following that, you attach the mudguards and adjust them to give enough tyre clearance by loosening-tightening of a very small allen key bolt on either side of them.

Allen bolt to adjust mudguard to the tyre
Performance review

I have had these mudguards for over a year now, and have put in more than 10.000 km on them. SKS initially released a very raw product into the market, which was not only badly designed (especially the metal bits that attach to the hub axle) but also of debatable quality. My rear mudguard simply snapped in two whilst I was removing it from the bike. Not a good sign! Also, the mudguards keep coming off at the slightest of bumps, not a good thing on the UK bumpy roads...This was, again, due to a poorly designed attachement system (as shown on the picture above) and too much plastic. The long-flap attachment was also faulty, coming off while just riding.

After a quick email correspondence with the dealer, they agreed to send a new set of the same mudguards, so I hold on to them before throwing them out.

The problems with the spontaneous detachments continued, and I now got in touch with the dealer again, who was very sceptical of what I was saying. They suggested various things, such as bending the metal attachments and so on, which never worked. Just I was about the ask for a full refund on this very crap product, they got in touch with me saying SKS had re-designed them and were sending a brand new batch to me, free of charge.

When I got the new mudguards I was pleased to see that all my points had been looked at and re-designed. Surely, I was not the only unhappy customer who provided feedback?!

Now the mudguards have been performing ok for the last 8 months. Here are their good points:

- Quick attachment/detachment to the bike
- No need for eyelets
- They are long, good for riding in a group
- They seem sturdy so far

Clearance is minimal at some points, even using 23 mm tyres


Long mudflap, not much clearance
Now the bad points:

- The clearance even with 23 mm tyres is pretty minimal, meaning that if the roads are muddy you will get mud stuck on to the brake bride. This will cause rubbing and you need to clean it frequently, involving removal of the wheels. If your tyres are already tight without mudguards, you will struggle putting these on!
- Not the best system if you need to mend a puncture, as you need to remove them from the bike first.
- The extra mudguard sections that compliment the long sections are just too short and don't do much, plus, they rattle a lot. I removed them.
- They are way too pricey in my opinion (£40 nowadays!)

Useless section of mudguard: it rattles and doesn't do much anyway
Another useless section of rear mudguard - your frame will get sprayed anyway!

Full rear mudguard - good length, not so good clearance
Overview

Even though I had a very bad experience with the first set of mudguards I was sent, I believe most issues have now been solved and I have had these on for a while, without any problems. 

However, be aware that their clearance is pretty low. It's ok on wet roads, just not so good on wet AND muddy roads (typical of the UK lanes in winter!) as they get stuck with mud. I like the fact that they can be easily removed if you expect a dry day ahead of you, and that it's just about one of the very few options you have if your bike does not feature eyelets on the frame stays and fork. 

If I were to give them a score, it would be a 6/10, which is ok but just not great. I realise it's not that easy to give enough clearance to these type of mudguards as bikes like mine were just not designed to be ridden with them. But some of the things I discussed above could be improved in future versions.

Disclaimer: we do not receive any incentives nor discounts on any products unless otherwise stated, so these reviews are our own and completely unbiased.